I love my copic makers, they make any image pop with a little work. Enjoy, Delia
If you are looking for a specific SVG contact me at: scrappingwithfriends@gmail.com
Wednesday, August 20, 2014
Birthday card for Teen
Here is a card I made for my friend son's birthday who is 16 years old. He loves video games so I thought this image was perfect.
Wednesday, August 13, 2014
Cake for a friend
My friend Pat asked me for a small cake, something simple. It had to be green and purple with the balls on the bottom. She decided that the cake should have a cheerleading bow. I looked online found a great tutorial and made my first bow. The cake was 3-6 inch layers of vanilla cake with buttercream frosting with homemade fondant. Here is the cake, no card for this post.
Came out cute although I had some trouble with the fondant, I heard it was still delicious. Happy Birthday Tiana.
Delia
Came out cute although I had some trouble with the fondant, I heard it was still delicious. Happy Birthday Tiana.
Delia
Wednesday, August 6, 2014
Melanie's 50th Birthday
Happy birthday to my friend Melanie. For her birthday I made her a card and a cake. She specifically requested an orange flavored cake and it had to be orange and be a New York Mets cake. Here is what I came up with:
Tuesday, May 20, 2014
Sofia's First Dance Recital and Thank You Cards
Sofia's first dance recital took place this week. She couldn't have been happier, she absolutely loved every minute of it. All the dance teachers were so patient and loving to the little ones, it was so great to be part of such a team. Thank you Star Struck, I look forward to seeing you all in the Fall. Here are some photos and cards I made for the Jen and Lisa.
How cute of these little ones. I would love to name them all but I am afraid I would mess up the spelling so I won't try. My daughter is all the way right.
I am hoping to make this photo black and white and crop it a little for my scrapbook. I will probably call the page "The girls in Waiting" or something along those lines.
I made this card using the Wall Decor Cricut cartridge and Sizzix Stars. I have so much tulle so I decided to tape it onto a piece of black cardstock to have as the background. I added some bling and the card was done. For the second card I used my stars roller and the same cricut cartridge. I inked with Bermuda Bay and black memento. Again I used the Sizzix Stars and bling it. For an hour of work, I love how both cards came out. Quick and easy.

Once again, thank you Star Struck!!!
Hugs Delia
How cute of these little ones. I would love to name them all but I am afraid I would mess up the spelling so I won't try. My daughter is all the way right.
I am hoping to make this photo black and white and crop it a little for my scrapbook. I will probably call the page "The girls in Waiting" or something along those lines.
I made this card using the Wall Decor Cricut cartridge and Sizzix Stars. I have so much tulle so I decided to tape it onto a piece of black cardstock to have as the background. I added some bling and the card was done. For the second card I used my stars roller and the same cricut cartridge. I inked with Bermuda Bay and black memento. Again I used the Sizzix Stars and bling it. For an hour of work, I love how both cards came out. Quick and easy.
Once again, thank you Star Struck!!!
Hugs Delia
Tuesday, February 25, 2014
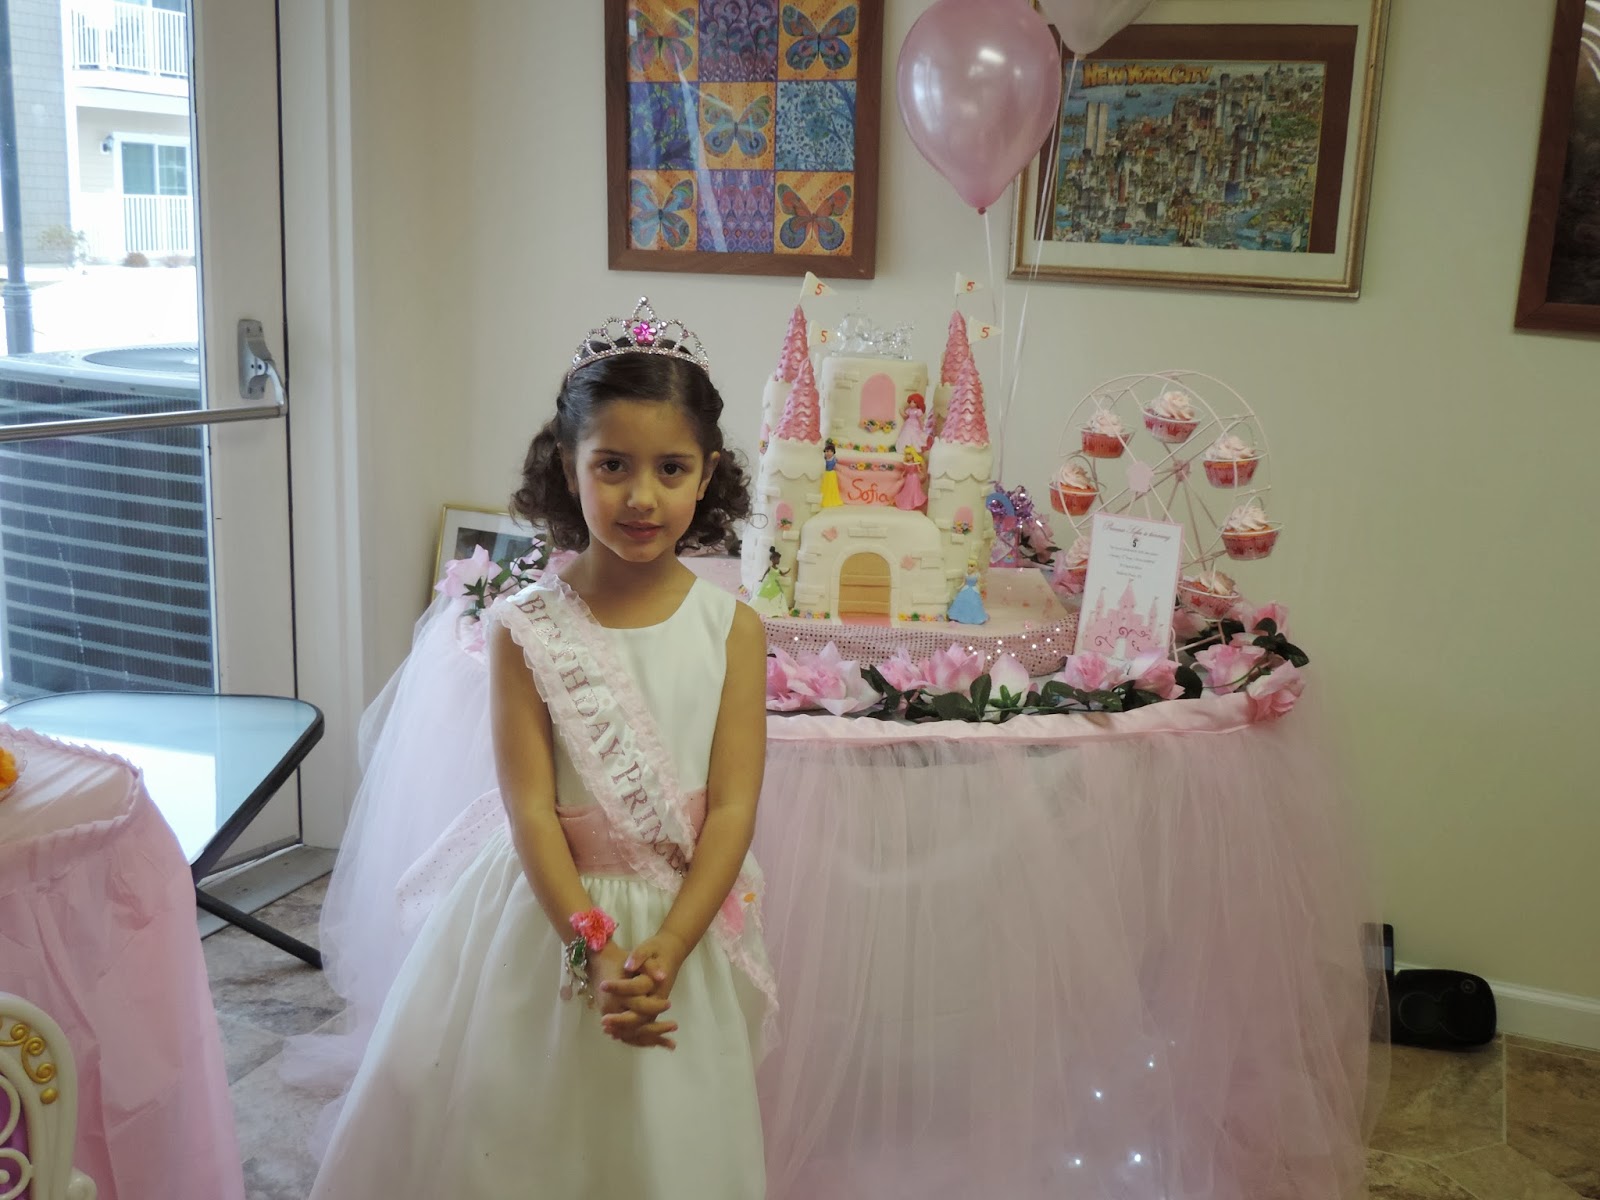
Princess Sofia's 5th Birthday!!!
Sofia turned five this year and I wanted her to have a special birthday party since she hasn't (as she told me) had a birthday party "in her whole life". So she decided on a princess party which my friend Michelle had mentioned a few times. LOL she had all the princess decorations and tea set for the table. We got together on New Year's Eve and discussed the venue, games, decorations etc.
I made the invitation and sent it out. Here it is:

My focus then became the cake and cake table. With the princess theme, Sofia decided on a castle cake. I searched out all the castle cakes I could find. Looking at different turrets on the castles I knew what didn't want. Nothing that would easily lean (so many of those in my search) and nothing with paper towel tubes. Trust me I am no expert, I don't get sharp corners but the kids love it when they see a cake that is out of the ordinary. I like the "wow" from the kids, it totally makes the hours of work worth it. I like to have a totally edible cake, so I decided on making the turrets out of Rice Krispies (RK). I was going to use a PVC pipe as a mold but being that it is not food safe, I canned that idea. Instead, I decided to use ICE drink bottles and Pringles cans. I sprayed the inside with Pam spray and compacted warm RK and added a skewer to the middle. When they were almost cool, I pulled out the RK and let them cool completely. The next step was to cover the RK with white chocolate and let cool. I was then able to smooth the chocolate out with my warm hands.
The cake took a while to put together and I had some great help. Besides Sofia wanting to help out every step of the way, I had my niece Denise and my friend Mel stay up with me until 3AM and only stopped because I stated I was going to bed. My sister Helena stepped in at about 1AM with her "helpful advise" and when I kiddingly told her to stop "criticizing", she said "I am not criticizing, I am just telling you what to do". Well we couldn't stop laughing. Helena always has the best intentions and she really knows how to jazz anything up, I love her dearly, thanks Helena for your thoughtful ideas LOL. 


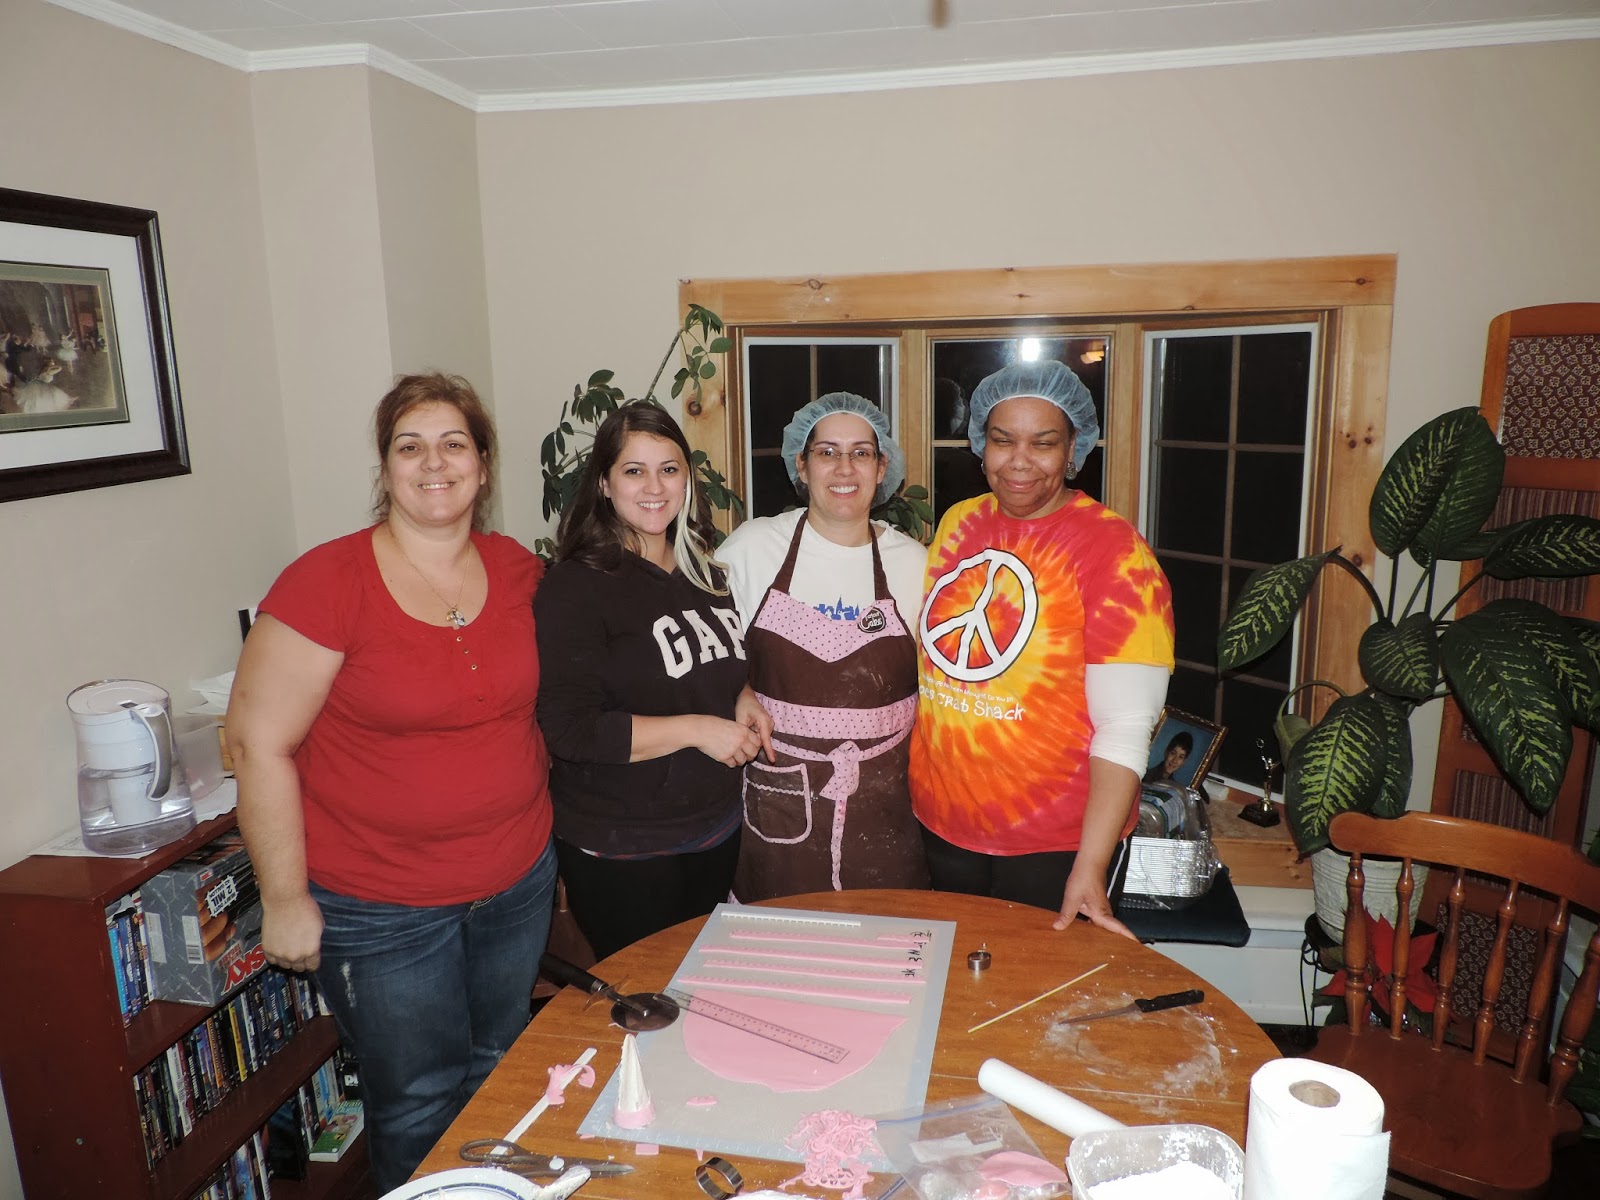
I made the layers of vanilla cake a week before and froze them. I covered them in buttercream frosting and let it harden in the refrigerator overnight. I took out the cake and made the cut outs for the turret and again covered the whole cake with buttercream.
Sofia and Mel kneaded and rolled out fondant and we covered the whole cake and the RK turrets.

I didn't finish everything I wanted, the top of the cake was suppose to have another tower/turret, just a small one to finish the look but I was too tired and I didn't have enough time, so I used a glass carriage that Michelle had for the top of the cake. I think it looked great when it was finished. Sofia LOVED it and that is all that counts in my book. The kids at the party also love the cake and there were a lot of excitement over it.

This was the table set up with all the princess decorations, seat covers and all the sandwiches were cut using a crown shaped cookie cutter. We had pink lemonade in the tea pots and served it to all the girls their own tea cups.
The carriage in the background was painted by Sofia and I on a snow day. I went down to the fabric store and obtained all I needed. My idea was to have all the little girls peek their heads in for a photo. I am including a photo of each girls in their "thank you" cards.
Sofia walking in with Logan took my breath away and brought tears to my eyes, she was so happy and she is getting so big. Logan didn't want to do it, but for $25, he was willing to escort his sister down the red carpet and walk back to escort each girl down the red carpet.
I realized once the cake was on the table that I forgot to bring photos to cover up the photos on the wall. No one noticed but me but in everything I do, there is always something I forget no matter how organized I am.
We had several games throughout the party and after each game each girl received a royal prize. We had a total of 18 girls and my beautiful little girl was so happy and the smile on her face all day really was worth all the time it took to pull this party together.
The cake!! I was worried about it traveling. I have never traveled with a cake before and this cake had to go 6 miles away, up a hill. I was sure it was going to fall apart but it stayed together. The two skewers into the RK horizontally and vertically through the turrets helped it all to stay together.
The address of the place and my phone number was removed. I loved how it came out. My cricut was not happy cutting glitter paper, I needed to change the blade several times. Next time, I will have a few tricks up my sleeve for this type of cutting.
I made the layers of vanilla cake a week before and froze them. I covered them in buttercream frosting and let it harden in the refrigerator overnight. I took out the cake and made the cut outs for the turret and again covered the whole cake with buttercream.
Sofia and Mel kneaded and rolled out fondant and we covered the whole cake and the RK turrets.
I didn't finish everything I wanted, the top of the cake was suppose to have another tower/turret, just a small one to finish the look but I was too tired and I didn't have enough time, so I used a glass carriage that Michelle had for the top of the cake. I think it looked great when it was finished. Sofia LOVED it and that is all that counts in my book. The kids at the party also love the cake and there were a lot of excitement over it.
This was the table set up with all the princess decorations, seat covers and all the sandwiches were cut using a crown shaped cookie cutter. We had pink lemonade in the tea pots and served it to all the girls their own tea cups.
The carriage in the background was painted by Sofia and I on a snow day. I went down to the fabric store and obtained all I needed. My idea was to have all the little girls peek their heads in for a photo. I am including a photo of each girls in their "thank you" cards.
Sofia walking in with Logan took my breath away and brought tears to my eyes, she was so happy and she is getting so big. Logan didn't want to do it, but for $25, he was willing to escort his sister down the red carpet and walk back to escort each girl down the red carpet.
I realized once the cake was on the table that I forgot to bring photos to cover up the photos on the wall. No one noticed but me but in everything I do, there is always something I forget no matter how organized I am.
We had several games throughout the party and after each game each girl received a royal prize. We had a total of 18 girls and my beautiful little girl was so happy and the smile on her face all day really was worth all the time it took to pull this party together.
The cake!! I was worried about it traveling. I have never traveled with a cake before and this cake had to go 6 miles away, up a hill. I was sure it was going to fall apart but it stayed together. The two skewers into the RK horizontally and vertically through the turrets helped it all to stay together. Tuesday, July 16, 2013
Happy Birthday Melanie
Today I made a card for my friend Melanie's Birthday!!! Believe it or not Melanie has every birthday card I have ever made...she doesn't let me forget it either LOL. Every year I make a special effort to make her a card in her favorite color which is Orange. Her favorite team is the Mets. Therefore, all her cards are orange, blue and white. This year I realized, I had no card ready, so I got up at 5:30am and made Melanie a card. Here is what I came up with.
I love these Stampin Up butterflies, they are so versatile and easy to use. I realized today I need the small butterfly punch so I don't have to cut out the butterflies. Thanks Melanie, you made me enable myself. I hope you have a great day. Happy Birthday Melanie!!!
Hugs Delia
Tuesday, July 2, 2013
Graduation Party!!
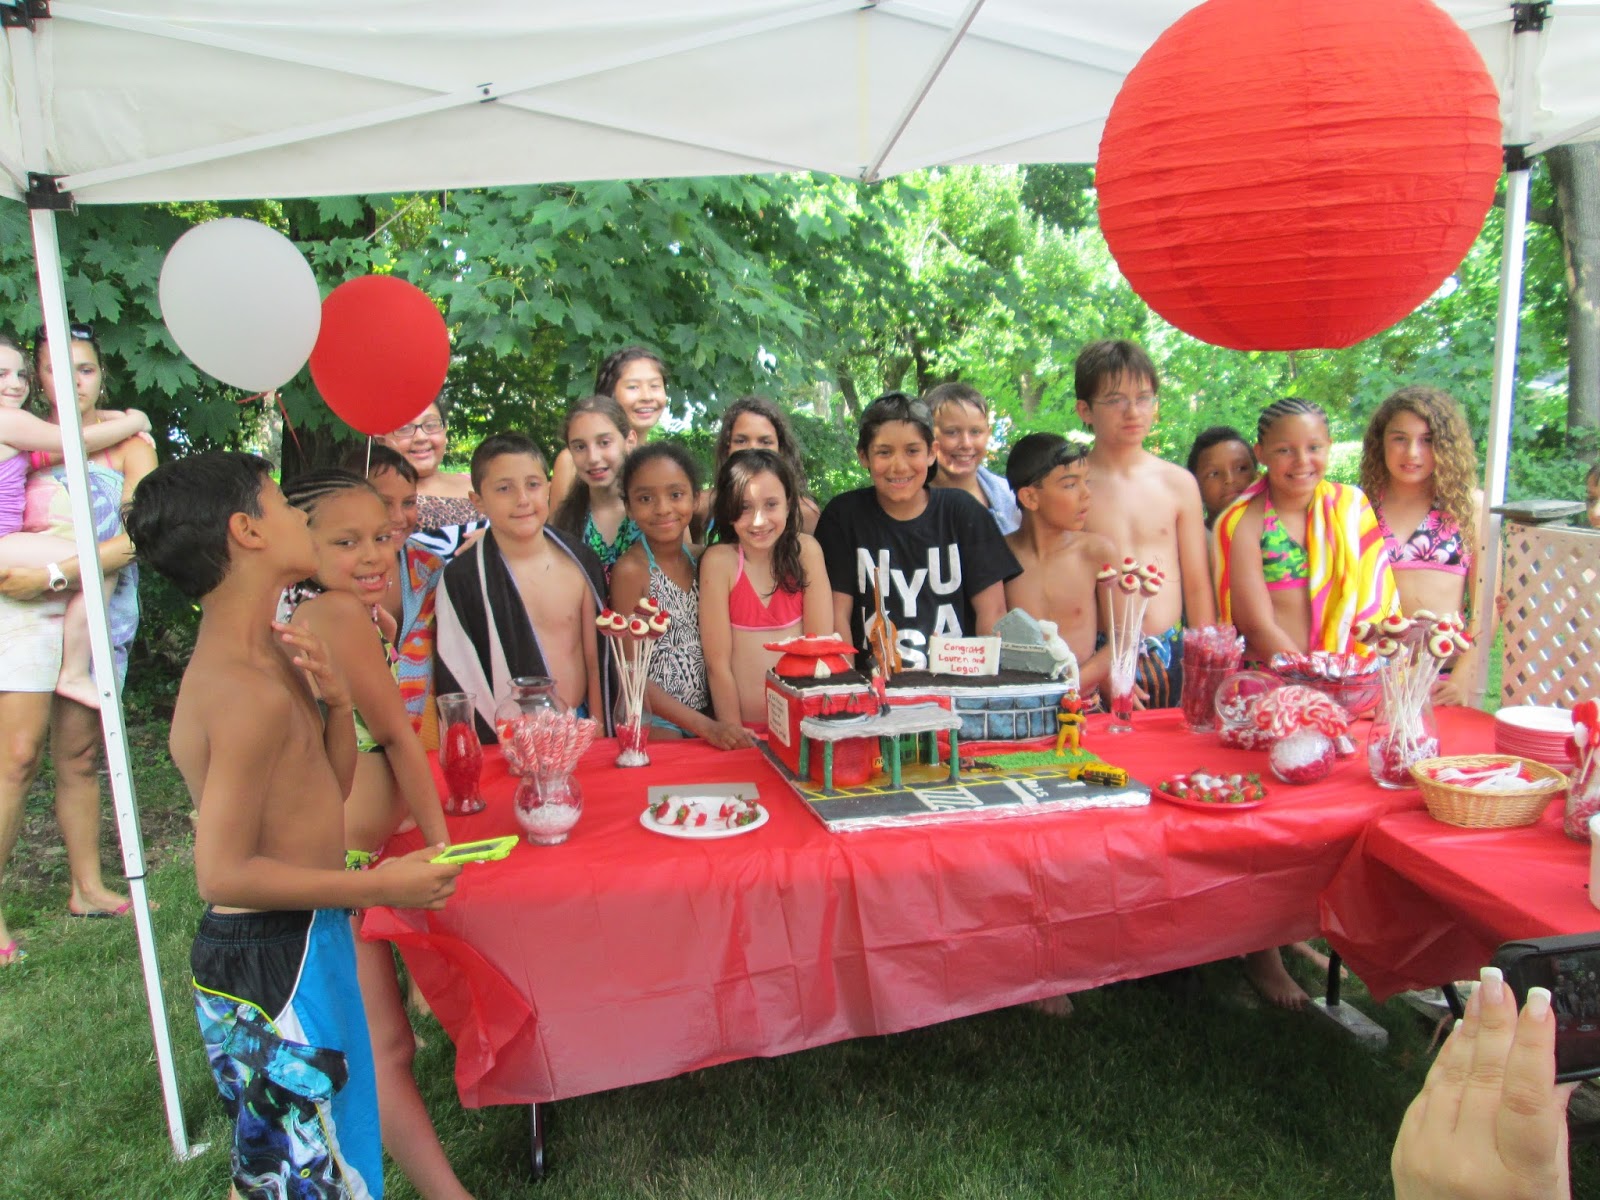
Logan graduated from George Washington Elementary School this past June and my friend Michelle asked if I wanted to do a pool party at her house for both Logan and her daughter Lauren. As soon as the word "yes" came out of my mouth, we started planning. Michelle is amazing, she really knows how to decorate and throw a party. She ordered goodie bags, candy, decorations and paper products all in red and white. She put up the tents in her yard and did all the decorations, the yard looked great!! She ordered an inflatable slip and slide and water bucket drop. The kids loved it all.
While she was doing all the work, I was home decorating the cake and making little red velvet cupcakes which were iced with cream cheese frosting and a cherry. They looked so cool, I just loved how they looked on the table. You can see them in the photos below. We put them on long popsicle sticks and placed them in glass jars.
Now for the cake, the Marty and Mike decided that a cake of the school would be cool and both Logan and Lauren decided they liked that idea. Michelle and I protested since there isn't much character to the school but the kids insisted so a cake of the school it was. I decided to add items to the top of the cake that were meaningful to both the kids in order to jazz it up a bit so I added:
- two string instruments a Base (Logan) Viola (Lauren)
- Museum of Natural History, this was their 5th grade field trip
- Daren the Lion for the DARE program
- George Washington Mascot, George which was drawn by a kindergarten years ago
- Graduation cap and white tassel with 2013 drawn on
- Both kids took the 510 yellow bus to school and home so I made a school bus
- GW letters on stone that are in front of the school
- For good behavior and accomplishments, the teachers would give the kids paper cherries which could add up and they would get special things throughout the years.
- GW motto about "Being George" on the side of the cake
So here is the cake making process.
I got too tired to take photos intermittently therefore, here is the end result.
The white cherry by the grad cap wasn't suppose to be there, someone put it there before I took the pictures.
Look closely, with the heat and humidity, the cake started to bulge in the front. Not the prettiest cake but the kids LOVED it. I had trouble trying to get a photo because they were all jumping in front, some taking pictures others just yelling "look at this or that" they were so excited, I was so fearful that the cake was going to be toppled over LOL. The thrill of making a cake this big is the reaction of the kids, they don't care that it's not perfect, they love it and that makes all those hours of work and lack of sleep worth it.
I hope you enjoyed the photos, now that this is over I can concentrate on making scrapbook pages and cards again.
Have a great day!!
Delia
Subscribe to:
Posts (Atom)
Double Gate Fold
I tried this double gate fold card for a friends birthday. I used stampin up 12x12 cardstock sheet of paper for the base. You can also use a...